
Free Needs Assessment Checklist for Landscape Estimates
Win more profitable contracts by qualifying prospects correctly and capturing every detail during site visits. Download the free checklist landscape estimators trust.
Great Estimates Start with Great Assessment
The difference between profitable landscape contracts and money-losing headaches? A thorough needs assessment before you ever calculate pricing. Too many landscape contractors rush through site visits, miss critical details, and submit bids based on incomplete information—leading to scope creep, unprofitable jobs, and client disputes.
Professional landscape estimators know that successful bids aren't just about accurate measurements and competitive pricing. They're about understanding whether the prospect is the right fit, documenting site-specific challenges that affect labor costs, and identifying potential problems before they become expensive surprises.
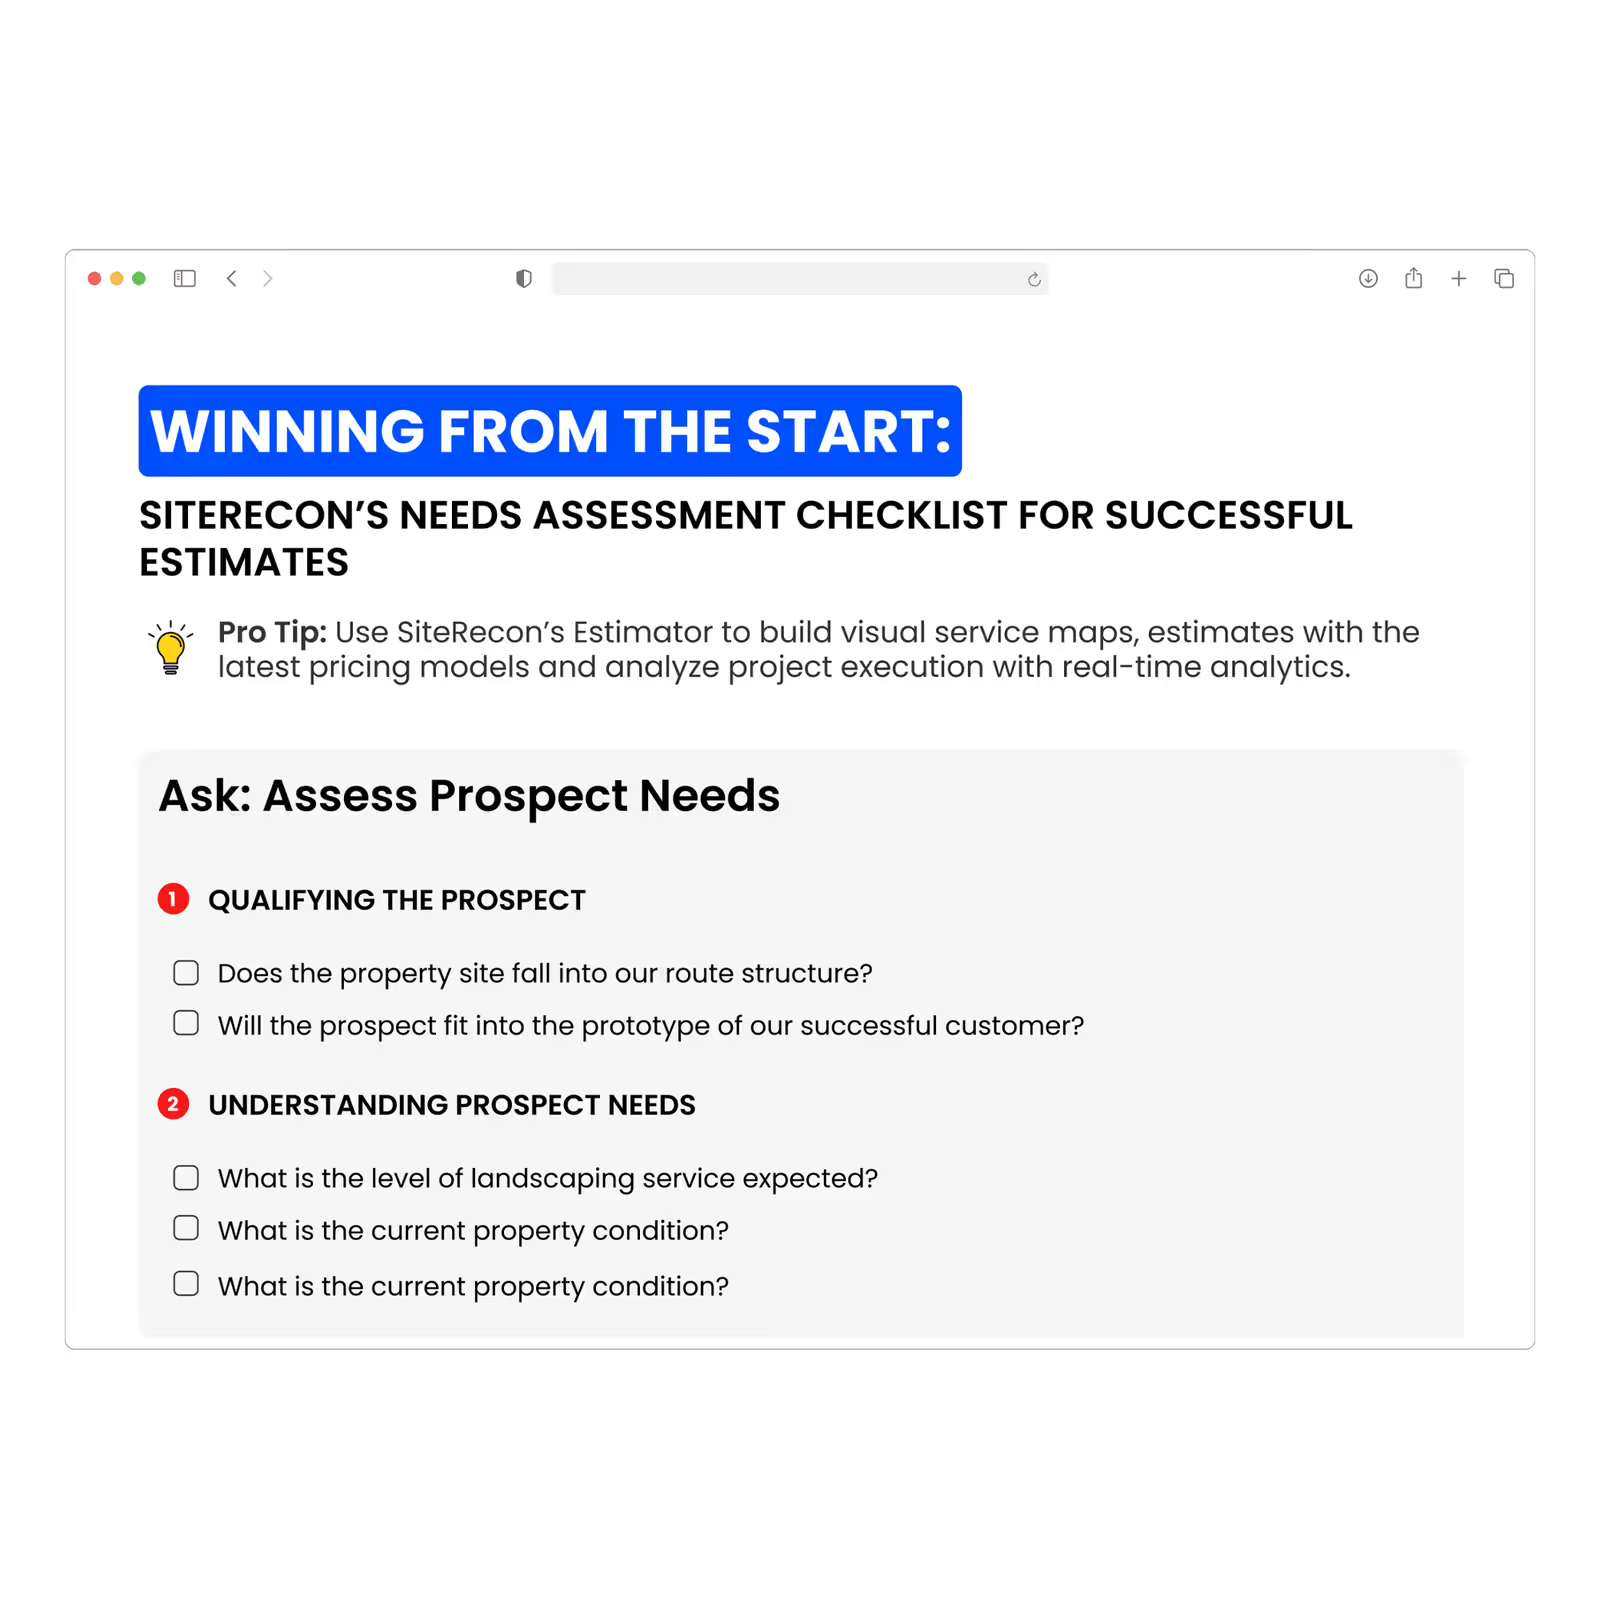
Our free Needs Assessment Checklist for Successful Estimates gives landscape contractors a systematic framework for evaluating prospects and properties before investing hours in detailed takeoffs and proposals.
This proven checklist helps you qualify opportunities faster, capture critical site information efficiently, and create estimates that actually reflect the true scope of work—protecting your profit margins and client relationships.
A Systematic Approach to Landscape Estimate Assessment
1. Phase 1: Ask – Assess Prospect Needs
1.1 Section 1: Qualifying the Prospect
Section 2: Understanding Prospect Needs
Phase 2: Check – Onsite Activities
Section 1: Understanding Logistics and Flow
Section 2: Document Site Attributes
Why Systematic Needs Assessment Increases Landscape Profitability
- Avoid Unprofitable Contracts: Qualify prospects before investing hours in detailed estimates, focusing your sales efforts on opportunities that align with your business model.
- Eliminate Scope Creep: Document every site condition affecting labor costs upfront, preventing "we didn't know about that" conversations after contract signing.
- Improve Estimate Accuracy: Capture critical details during site visits that directly impact pricing—slopes, access restrictions, foliage density—reducing costly underestimation.
- Increase Win Rates on Right-Fit Clients: Focus your proposal efforts on prospects whose needs match your capabilities, improving conversion rates while protecting margins.
- Reduce Change Orders and Disputes: Thorough assessment creates shared understanding of property conditions, minimizing client disputes about pricing and scope.
- Protect Crew Safety: Identify hazards and access challenges before crews arrive, enabling proper equipment selection and safety planning.
- Optimize Route Efficiency: Qualify location alignment with existing routes before bidding, maintaining profitable crew schedules and reducing windshield time.
- Scale Your Estimating Team: Give junior estimators a proven framework ensuring they capture the same critical information as your most experienced team members.
How to Use the Checklist
Transform Your Landscape Estimate Process
Step 1: Pre-Qualify Before Site Visits:
Use the "Ask: Assess Prospect Needs" section during initial conversations with prospects. Determine route alignment and client fit before investing time in property assessments. This saves hours on opportunities that don't align with your business model.
Step 2: Bring Checklist to Every Site Visit
Print copies or use a digital version on your tablet during property walk-throughs. Systematically work through each category to ensure you capture all critical information affecting estimate accuracy.
Step 3: Document with Photos and Notes
For every checklist item, take supporting photos and detailed notes. Document slopes, access points, foliage density, and site attributes visually so your pricing team has complete context.
Step 4: Share with Estimating Team
After site visits, provide your completed checklist with photos to whoever builds detailed takeoffs and pricing. Complete assessment information enables accurate labor calculations and appropriate pricing.
Step 5: Reference During Proposal Creation
Use your documented assessment to customize proposal sections addressing specific property challenges, demonstrating your attention to detail and understanding of the prospect's unique needs.
Step 6: Review Before Contract Signing
Walk through your assessment checklist with clients before finalizing contracts, ensuring shared understanding of property conditions and scope of work to prevent future disputes.
Step 7: Track Assessment Quality
Compare your pre-bid assessments to actual job conditions after contract start. Identify which site attributes you're consistently missing and refine your checklist accordingly.
FAQs
Use this checklist in two stages: (1) during initial prospect conversations to pre-qualify before site visits, and (2) during property walk-throughs to systematically document site conditions affecting estimate accuracy.
Absolutely. While some elements like route structure apply more to commercial operations, the core principles—qualifying client fit, documenting slopes, assessing foliage density, noting access restrictions—apply equally to high-value residential properties.
This checklist provides the systematic framework for what information to gather. SiteRecon's Estimator provides the platform for documenting that information digitally, automatically adjusting calculations based on documented conditions, and generating complete estimates with visual service maps.
Yes—that's the point. A systematic checklist ensures junior estimators capture the same critical information as your most experienced team, maintaining assessment quality while scaling your estimating capacity.
Perfect—that's exactly when the checklist provides maximum value. Better to identify unprofitable opportunities before investing hours in detailed estimates. Politely decline and focus your effort on properties where you can deliver value profitably.
Reference specific site conditions you documented (slopes, access restrictions, foliage density) when explaining your pricing. Include photos from your assessment showing these conditions. This justifies your pricing while demonstrating thoroughness that competitors often miss.
Calculate the true cost impact of servicing an isolated property—additional drive time, fuel, and reduced crew efficiency. Either price this into your estimate as a geographic premium or establish a minimum contract size that justifies the route deviation.
Review quarterly based on feedback from operations teams about site conditions that affected actual job profitability. Add assessment items for factors you're consistently missing that impact estimate accuracy.
Yes. The framework applies universally, but add service-specific items relevant to your offerings (irrigation assessment for maintenance contracts with system management, snow removal for seasonal services, etc.).
Contractors report 23-31% improvement in estimate accuracy, 47% reduction in unprofitable contract acceptance, and 19-26% higher win rates on ideal-fit clients. Even one avoided money-losing contract pays for the time invested in systematic assessment.